Fujifilm Instax Mini Link+ Review
I’ve recently gotten into journaling, and I wanted a way
to print the photos I take with my camera.
Of course, I could print them with a regular printer,
but for journaling, I thought the unique look
of Instax film would fit much better.
Since I had already bought a Fujifilm camera,
I decided I might as well start printing
my photos with Instax too.
So I bought the Instax Mini Link+!
I purchased it before going on a trip, and this time I finally got to print some of the photos I took myself.
In this post, I’ll go over what’s included with
the Mini Link+, how to load the film, how to connect it to the app and print photos, and how it compares with the Instax Mini Link 3.
Buying the Instax Mini Link+
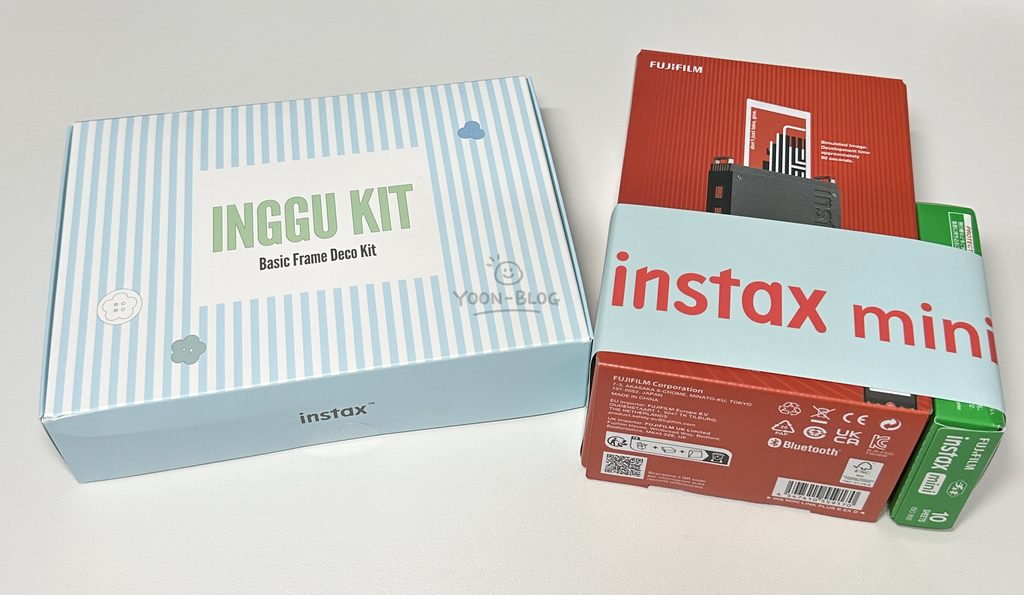
The model I purchased is the Instax Mini Link+.
At the time of my purchase, the package included:
- Instax Mini Link+ printer
- 10 sheets of Instax Mini film
- Basic Film Frame Decorating Kit
The current price on the official Fujifilm website
is 195,000 KRW.
If it’s your first time shopping through the official Fujifilm store, you may be able to receive a discount of up to 15,000 KRW after signing up and verifying your identity.
So if you’re planning to buy one,
it’s worth checking before placing your order.
I bought mine with my own money,
and if there’s a discount available…
You might as well use it.
Instax Mini Link 3 vs. Mini Link+: What’s the Difference?
Before buying the Mini Link+,
there was another model I considered.
The Instax Mini Link 3.
Both models use the same Instax Mini film,
and the basic way they work is also the same.
You send a photo from your smartphone
through the app and print it on Instax film.
The biggest difference is
the Design Print feature available on the Mini Link+.
For regular photo printing,
both models print at 800 × 600 resolution,
so there’s not much difference
if you’re mainly printing photos.
However, when using Design Print on the Mini Link+, images containing fine details such as text, illustrations, or detailed patterns can be printed more clearly.
So if you plan to print not only photos but also custom designs, illustrations, or images containing text,
the Mini Link+ may be the better option.
However, if you’re like me and plan to print photos most
of the time, I don’t think you necessarily need
to choose the Link+ just for this feature.
It’s perfectly reasonable to compare the price
and exterior design and simply choose the model you prefer.
I chose the Link+ partly because it’s the newer model, although I have to admit
that I also really like the design of the Link 3.
What’s Included with the Instax Mini Link+?
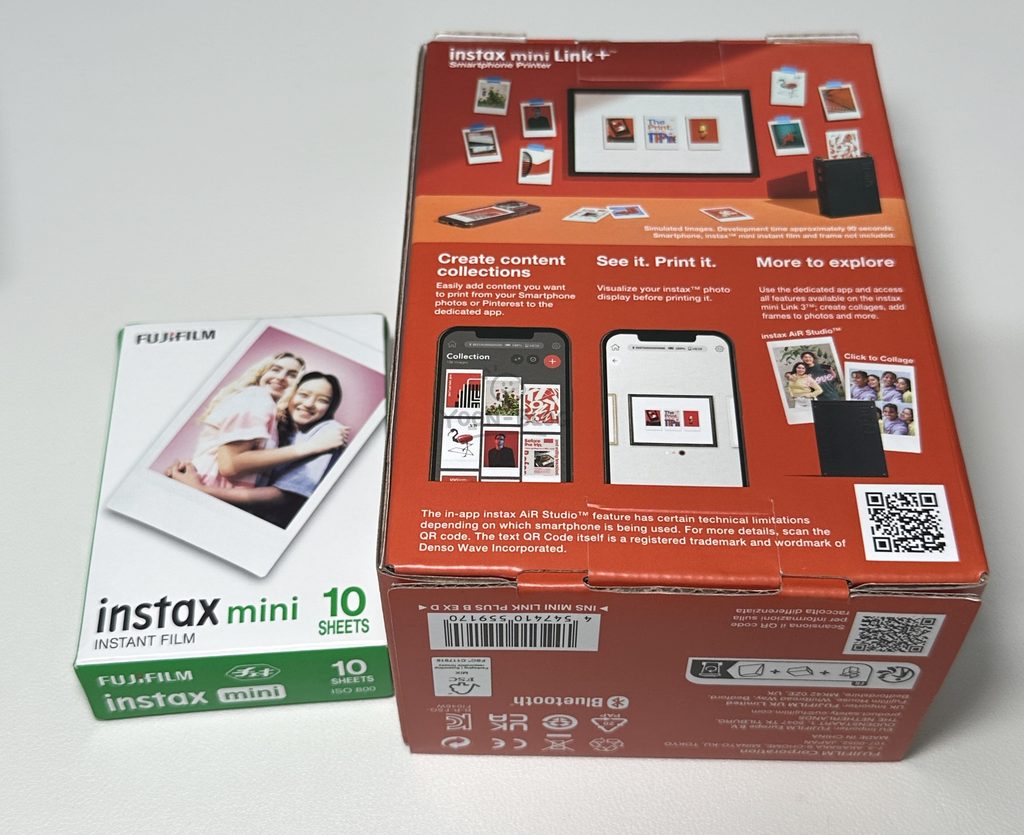
The outer box is tied with a string, so at first
I assumed I could simply untie it to open the package.
But the inside was actually attached quite firmly
with double-sided tape.
I tend to keep the boxes for my electronics,
so this was a little disappointing.
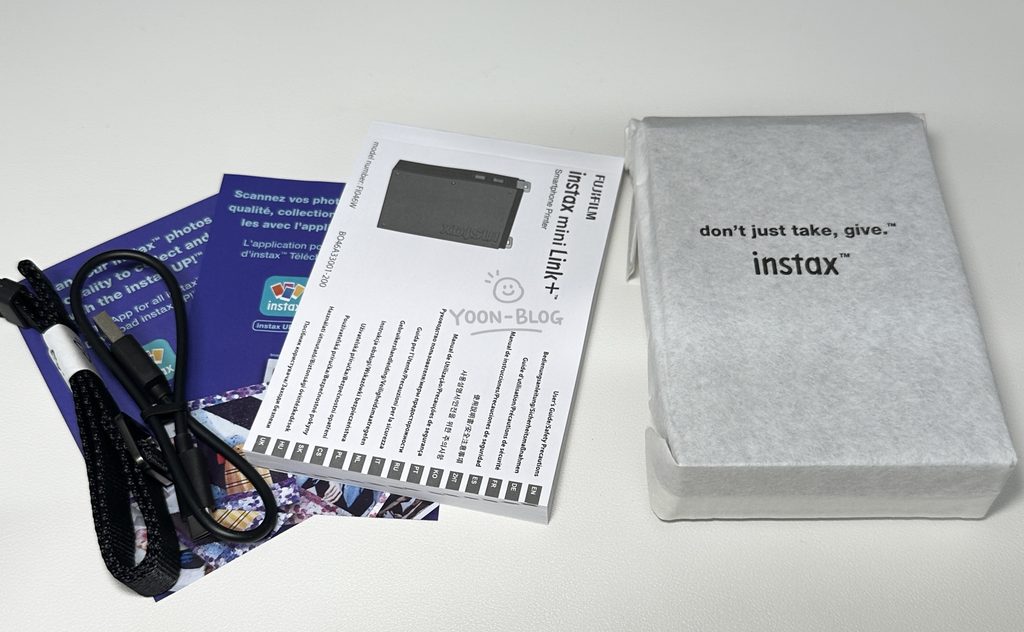
Still, if you remove it carefully, you can separate everything without seriously damaging the box.
Inside, you’ll find:
- Instax Mini Link+ printer
- User manual
- USB-C to USB-A charging cable
- Strap
Attach the strap and you can even carry
the Mini Link+ around almost like a small bag.
Instax Mini Link+ Design
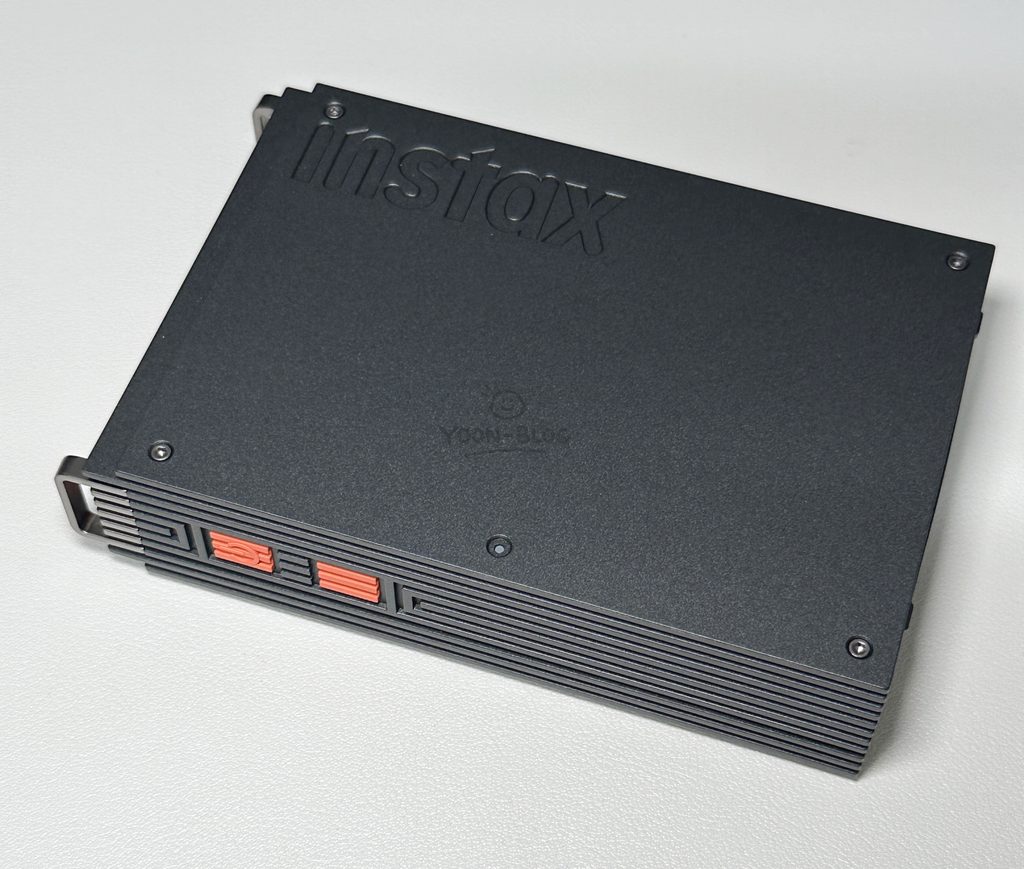
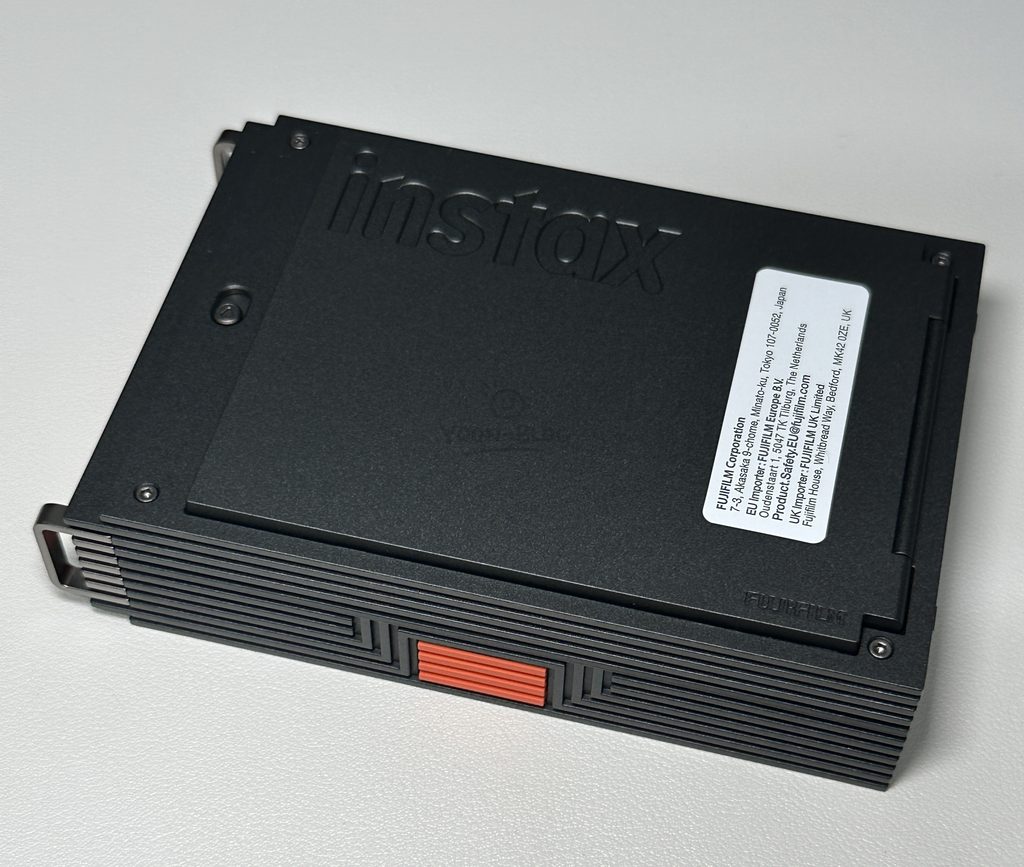
The printer has an overall black design with orange accents.
Compared with the Mini Link 3,
which has a slightly cuter and more casual appearance,
the Link+ looks a little more like a typical electronic device.
After seeing it in person, though,
I actually liked it quite a bit.
It looks cleaner than I expected from the photos.
There are Instax logos on both sides of the back,
and the overall size isn’t particularly large,
so it doesn’t take up much space on a desk.
USB-C Charging
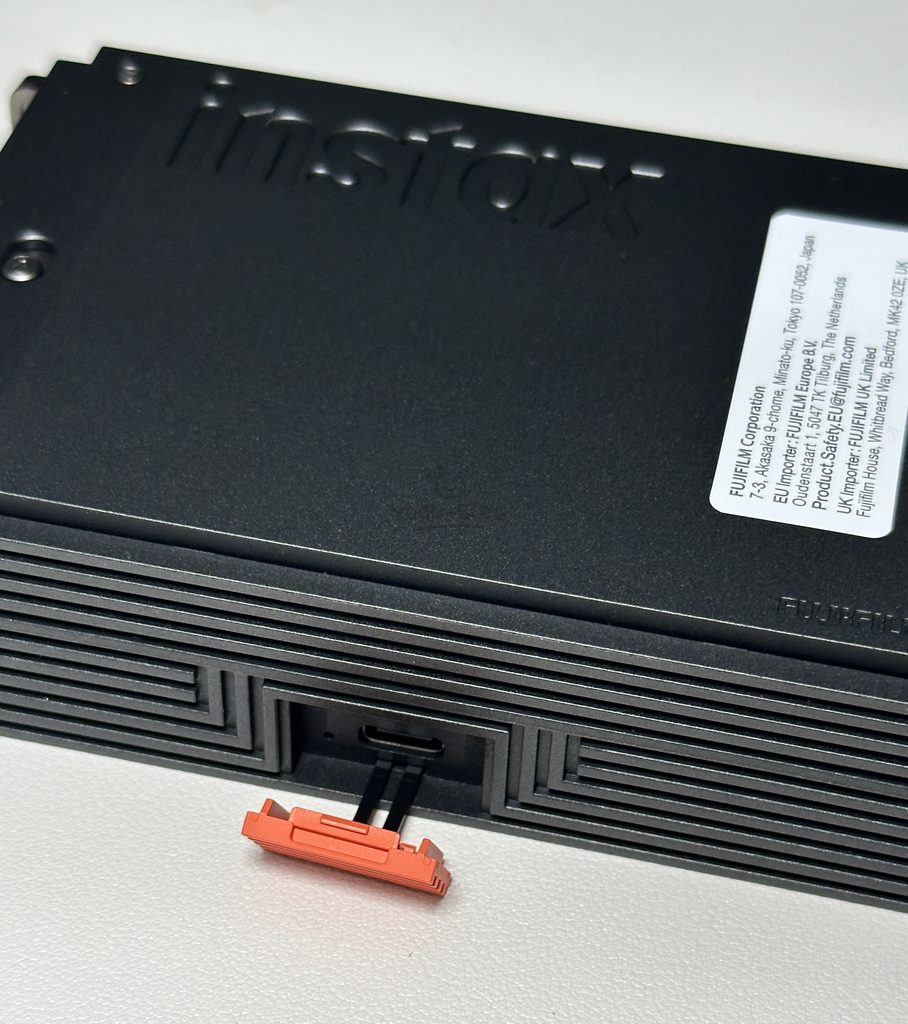
Open the orange cover on the side and
you’ll find a USB-C charging port inside.
A full charge takes approximately 1.5 to 2 hours.
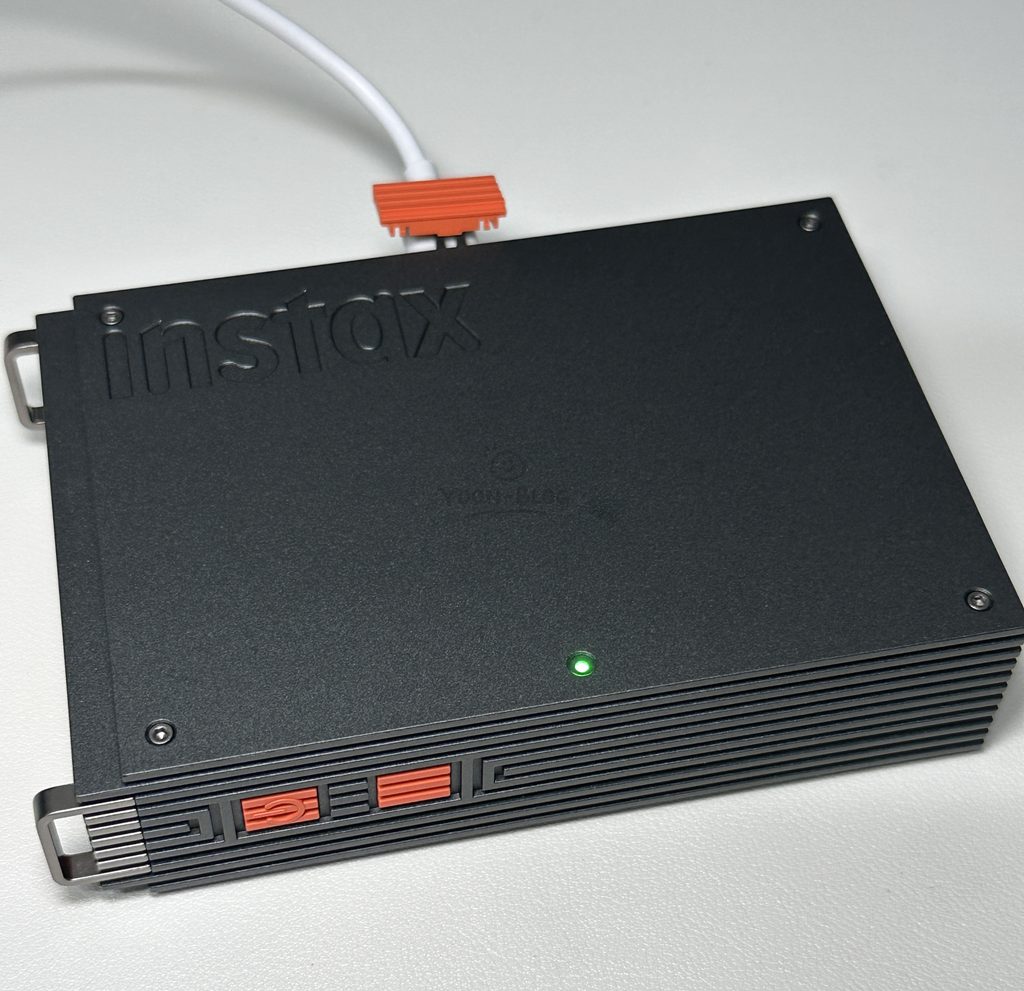
An indicator light turns on while charging
and switches off once charging is complete,
so it’s easy to check the charging status.
On a full charge,
the printer can produce approximately 100 prints.
If you’re only printing a few photos at a time for everyday use, I don’t think battery life will be much of an issue.
How to Connect the Mini Link+ App
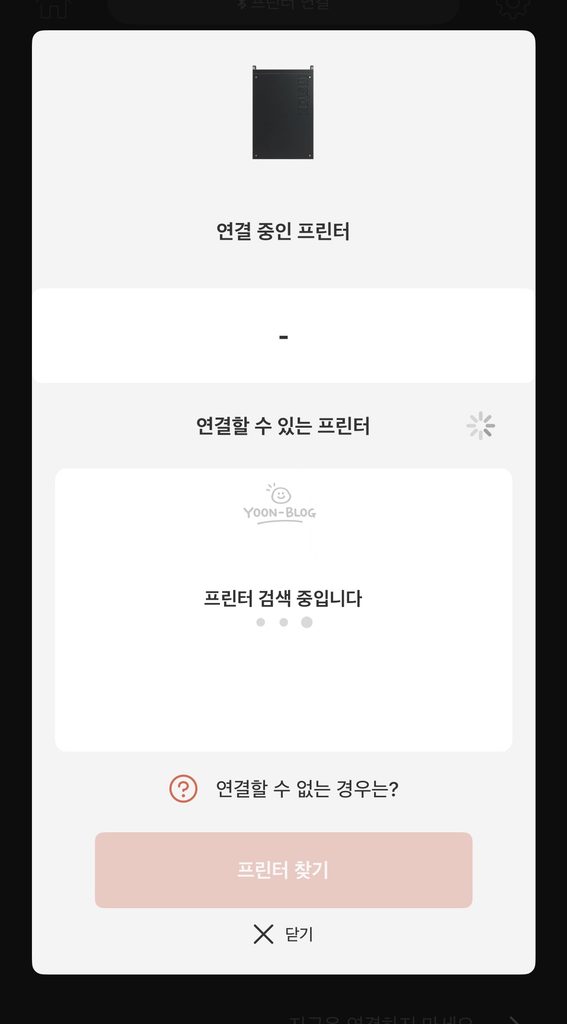
The Mini Link+ is used with a dedicated smartphone app.
Turn on the printer and connect it through the app.
Once the initial connection is complete,
you can simply select a photo and print it,
so the overall process is very straightforward.
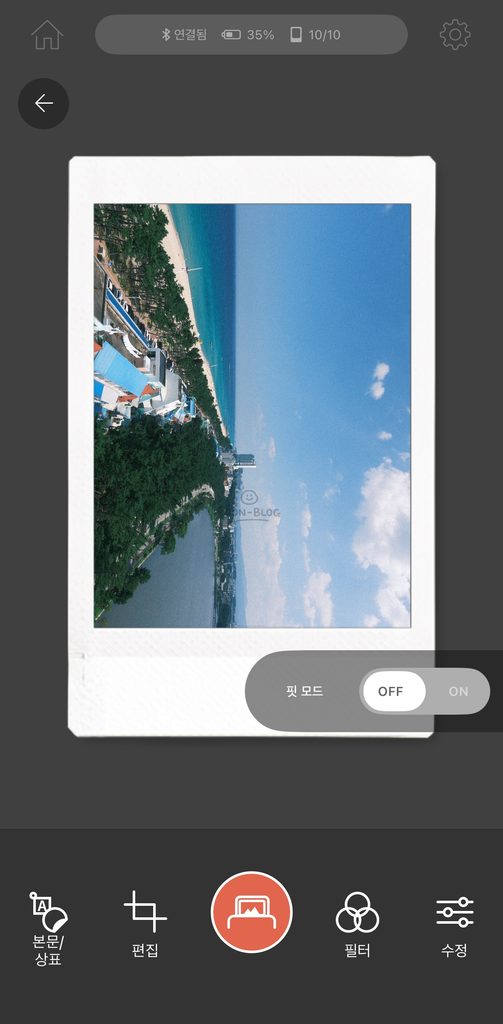
The app also shows the printer’s current battery level
and the number of film sheets remaining inside.
I found this particularly convenient
because you don’t have to remember
how many sheets you’ve already used.
“이 포스팅은 쿠팡 파트너스 활동의 일환으로, 이에 따른 일정액의 수수료를 제공받습니다.”
What Do the Buttons Do?
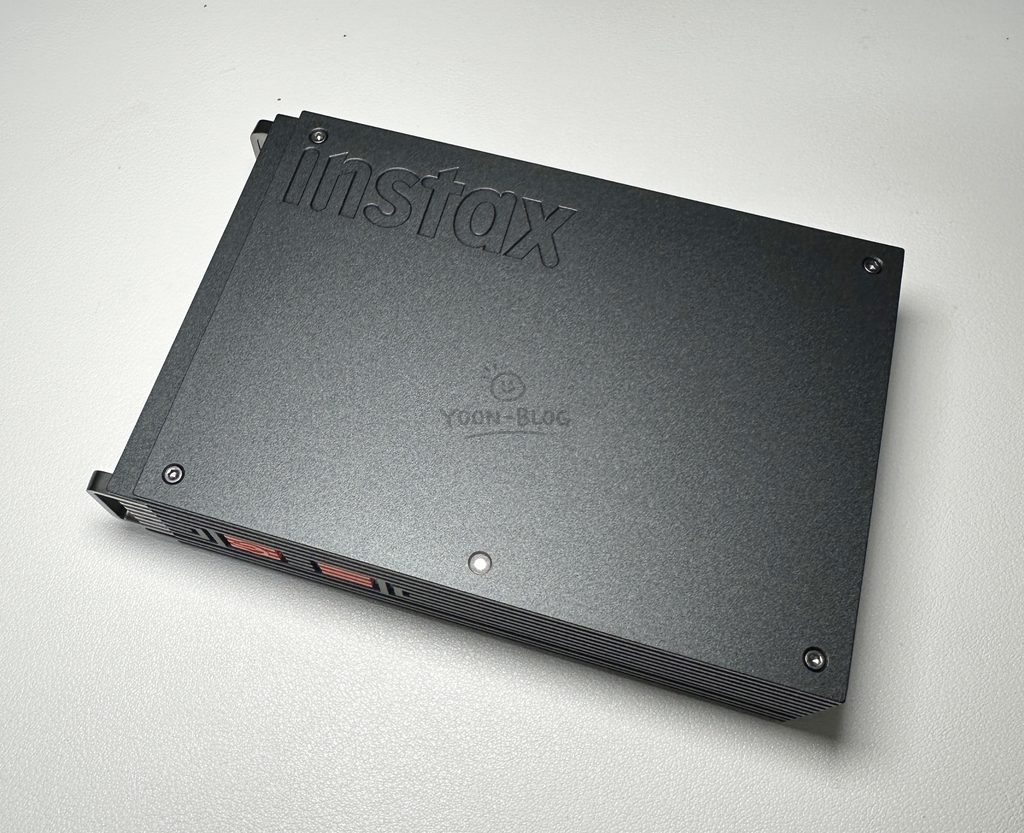
There are two buttons on the side of the Mini Link+.
The upper one is obviously the power button,
but at first I wasn’t sure what the lower button was for.
It turns out that the lower button is used
to check the remaining battery level.
Press it and the indicator light flashes.
The number of flashes changes depending on how much battery remains, with a maximum of three flashes.
You can also check the battery level through the app,
but this button is useful when you want to quickly check it without connecting your phone.
Printing Photos and Fit Mode
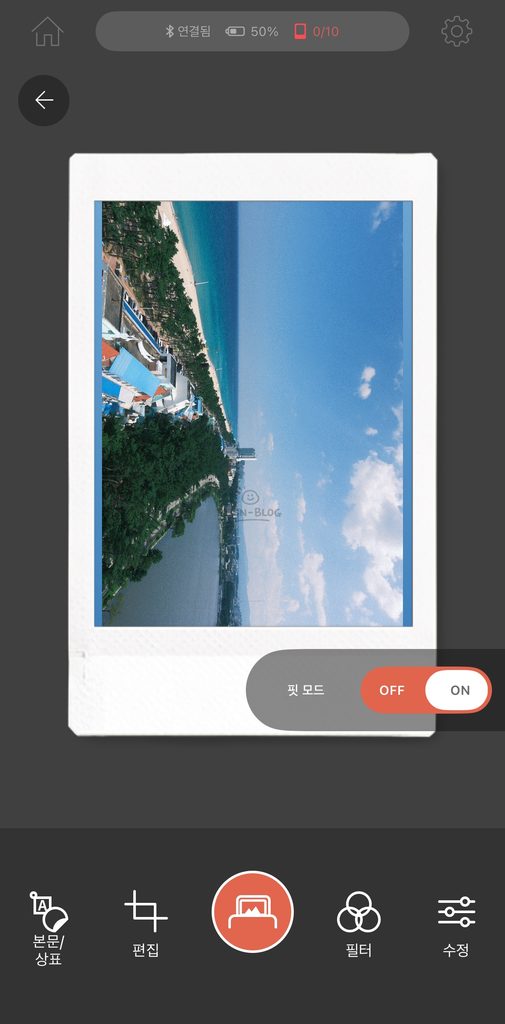
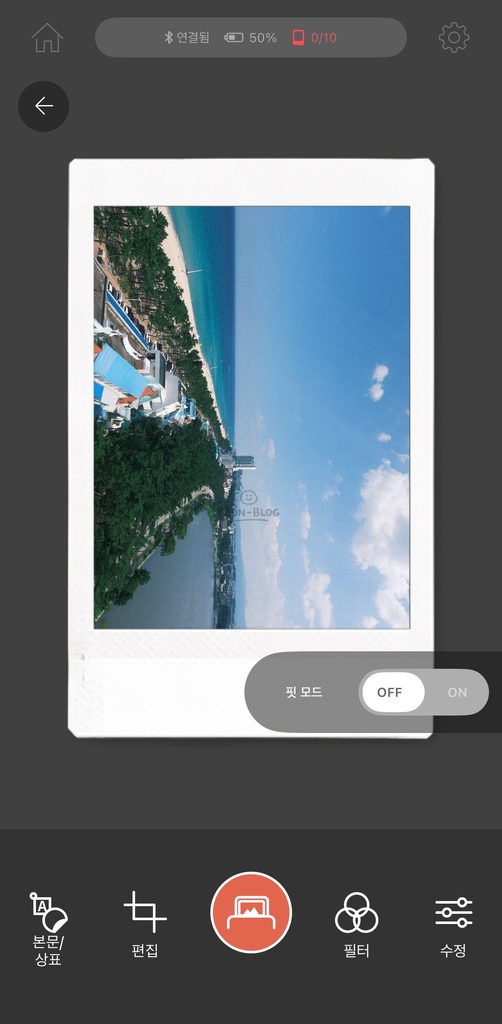
Once the printer is connected
and you’ve selected the photo you want to print,
you can adjust which part of the image
will appear on the film.
This is where you’ll find Fit Mode.
If you turn Fit Mode ON, the entire original photo will
fit within the print.
Depending on the photo’s aspect ratio, however,
this may leave some blank space around the image.
If you turn Fit Mode OFF, the photo fills the entire film area, but parts of the image may be cropped.
Personally, I prefer filling the entire film even if the edges of the photo get cropped slightly,
so I usually leave Fit Mode OFF.
The result can vary depending on the photo,
so I recommend checking the preview in
the app before printing.
This time, I decided to print some of my favorite photos taken with my Fujifilm camera during my trip to Gangneung.
How to Load Instax Mini Film
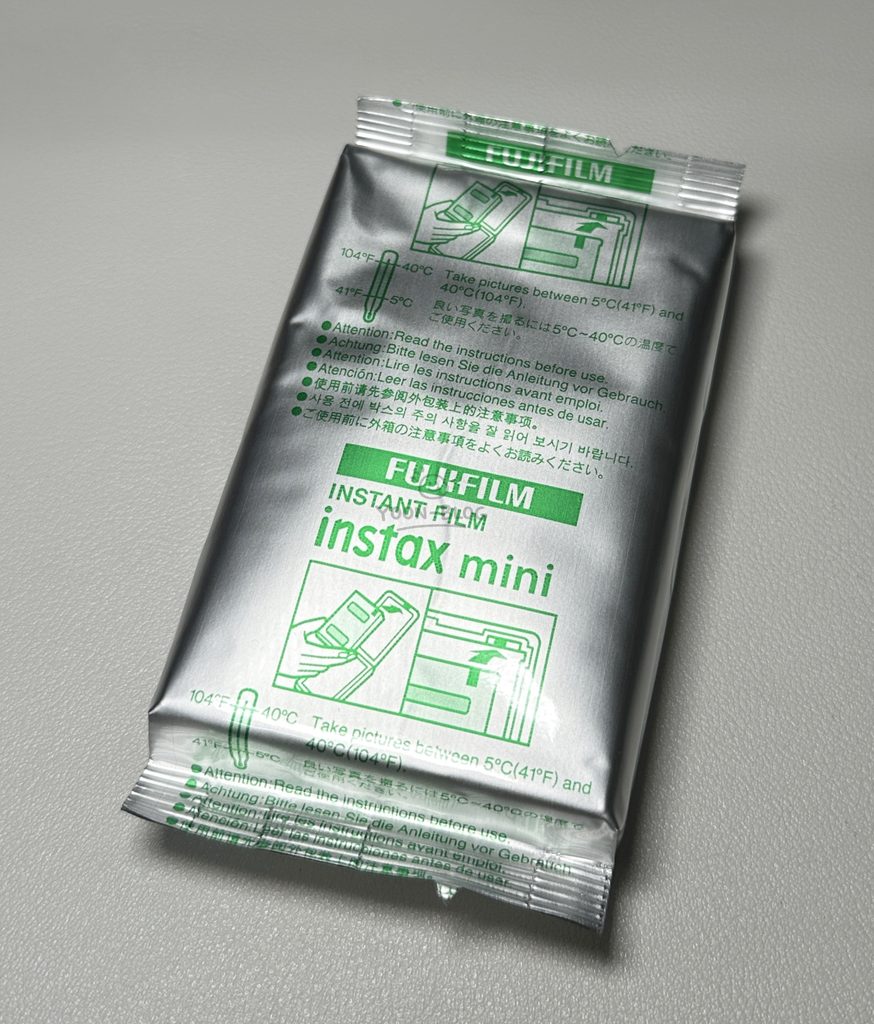
The Mini Link+ uses Instax Mini film.
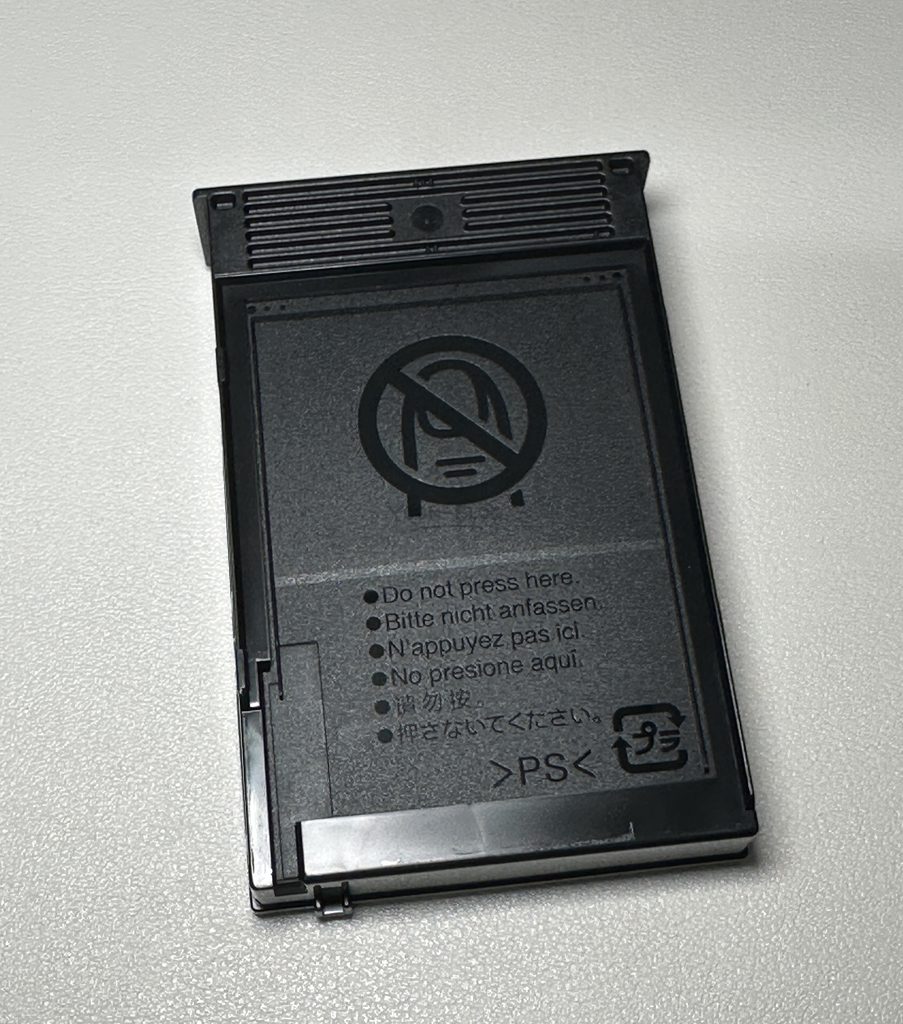
Open the film box and remove the packaging,
and you’ll find a black film cartridge inside.
There’s a warning on the cartridge telling you not
to press down on it, so be careful not to apply pressure
to the film area.
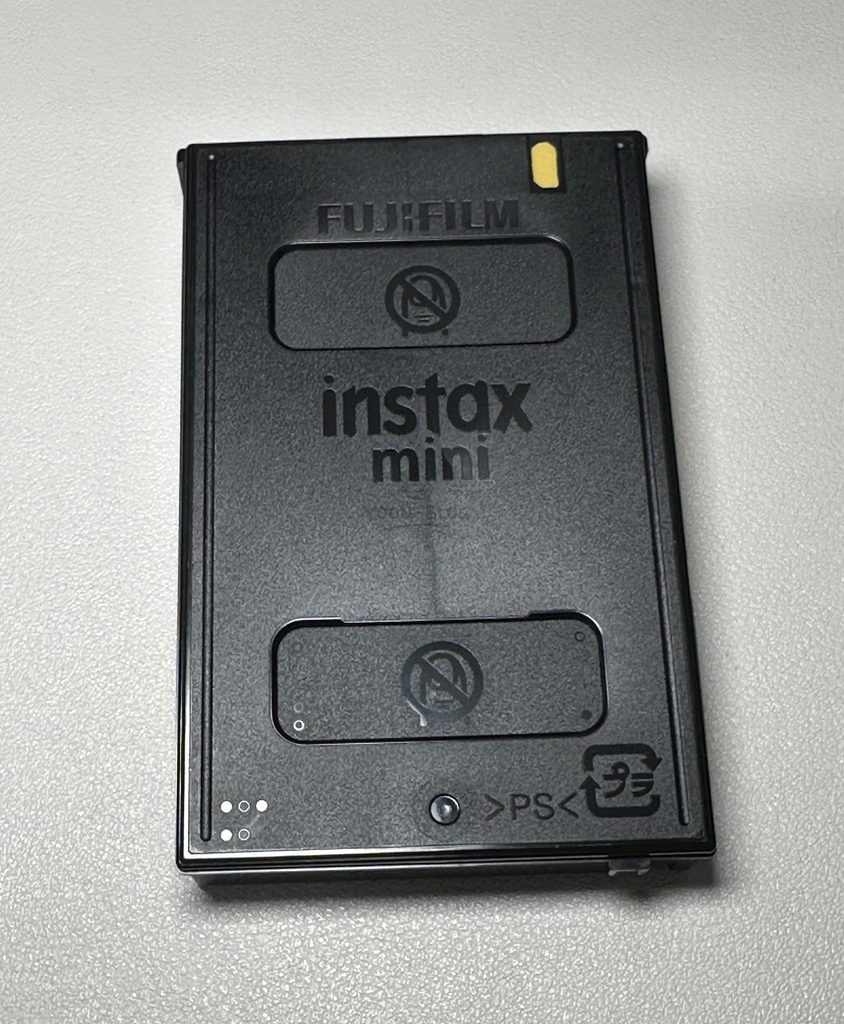
On one side of the cartridge, you’ll see a small yellow mark.
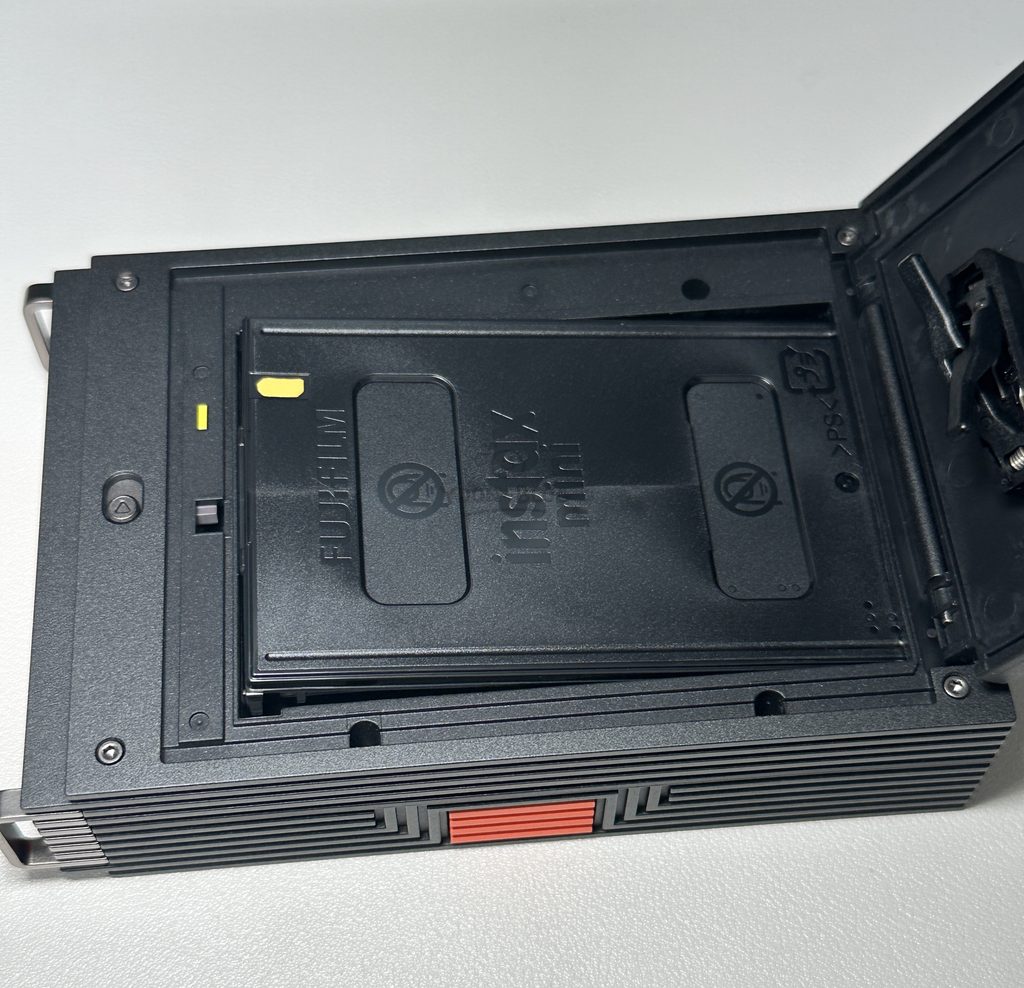
Open the film compartment on the Mini Link+
and you’ll find another yellow mark inside the printer.
Simply line up the two yellow marks
and insert the cartridge.
There’s no need to memorize
which direction the cartridge goes.
Just match the yellow marks, which makes
the process surprisingly simple.
You’ll also find the product’s serial number inside
the printer, so keep that in mind if
you’re planning to register your product after purchasing it.
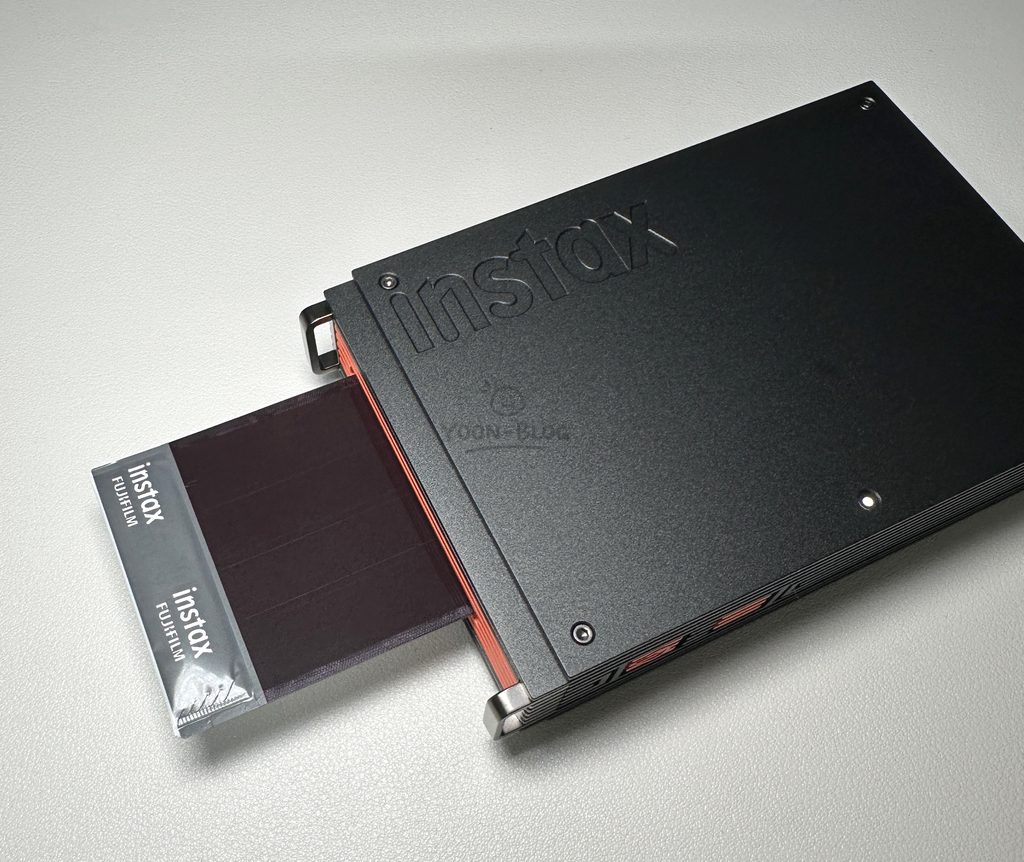
Once you’ve inserted a new film cartridge and closed the cover, one sheet will automatically come out.
At first, you might think you’ve just wasted one
of your film sheets.
But don’t worry!
This isn’t an actual photo.
It’ the protective cover
that was shielding the film inside the cartridge.
You can simply throw it away.
After that, the actual film sheets will be used one at a time.
Printing My First Photos
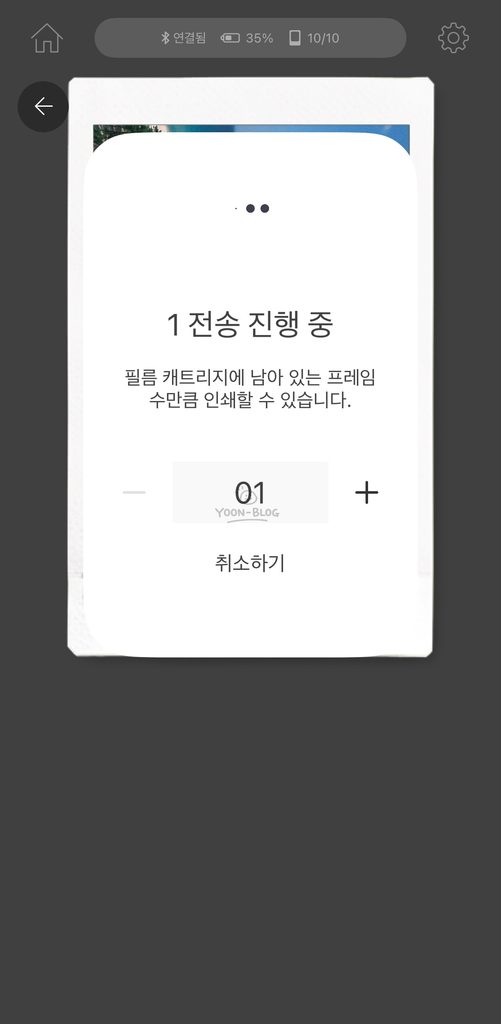
Select a photo in the app, choose how many copies
you want, and start printing.
An animation appears on the app showing the photo moving into the printer, and the actual printing process begins.
Printing itself doesn’t take very long.
After a short wait, the film comes out of the printer.
When it first comes out, the image isn’t immediately visible.
Wait a little while and the photo gradually begins to appear.
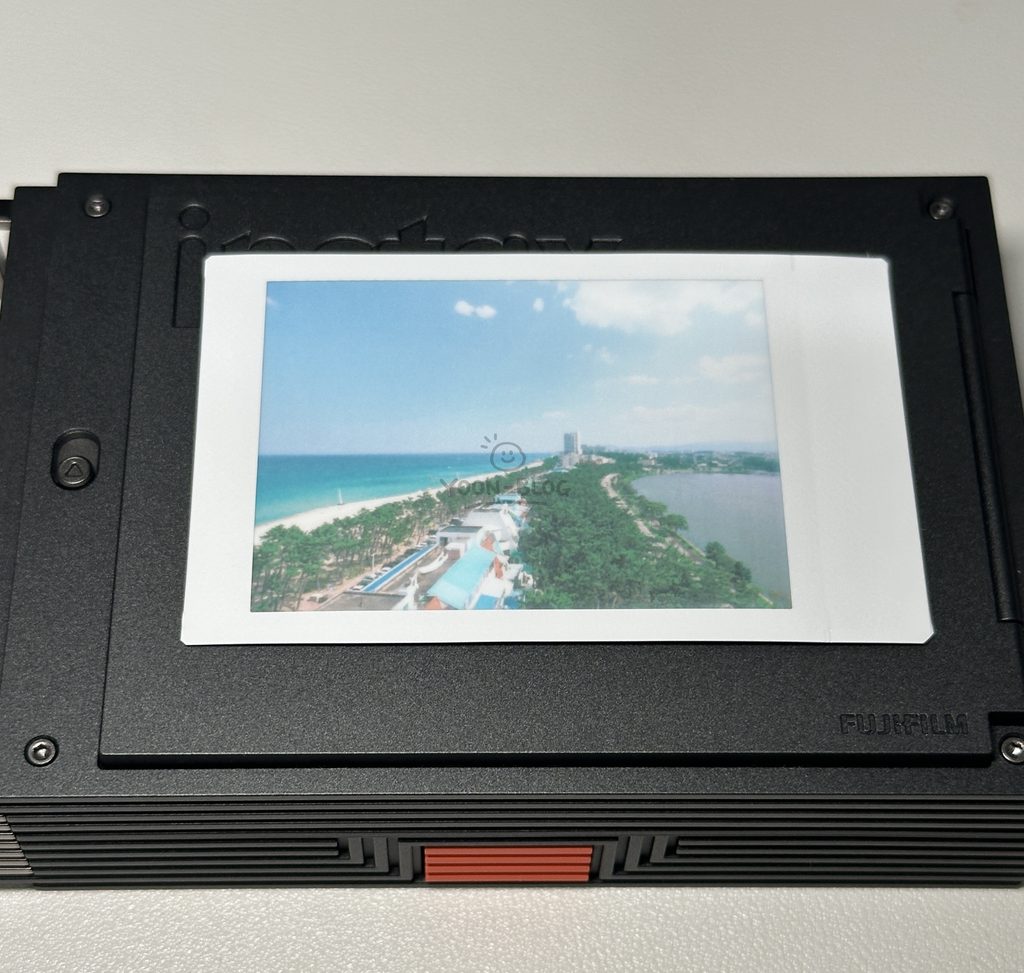
This time, I printed photos taken with my Fujifilm camera, and they had a completely different feel compared with viewing them on a screen.
Instead of the crisp look of a digital photo, the Instax film adds its own distinctive colors and atmosphere.
For the journaling photos I originally wanted it for,
I was really happy with the results.
Basic Film Frame Decorating Kit
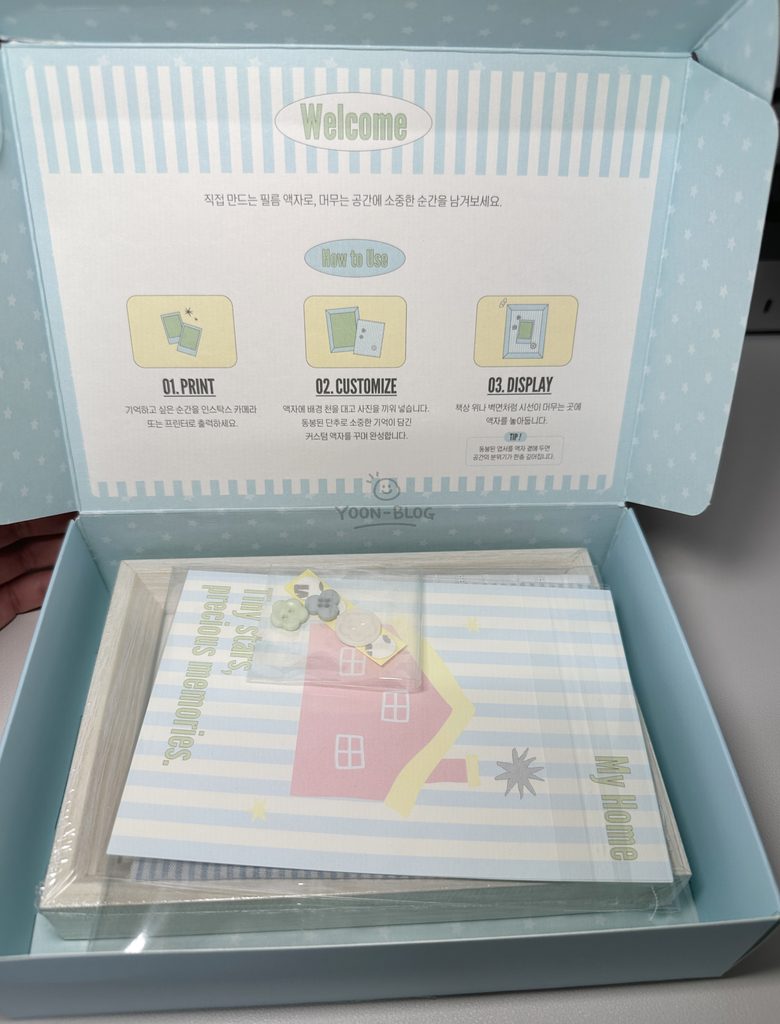
My purchase also came with
a Basic Film Frame Decorating Kit.
It’s a set of accessories for decorating the area around
Instax photos, and the included designs seem to be random.
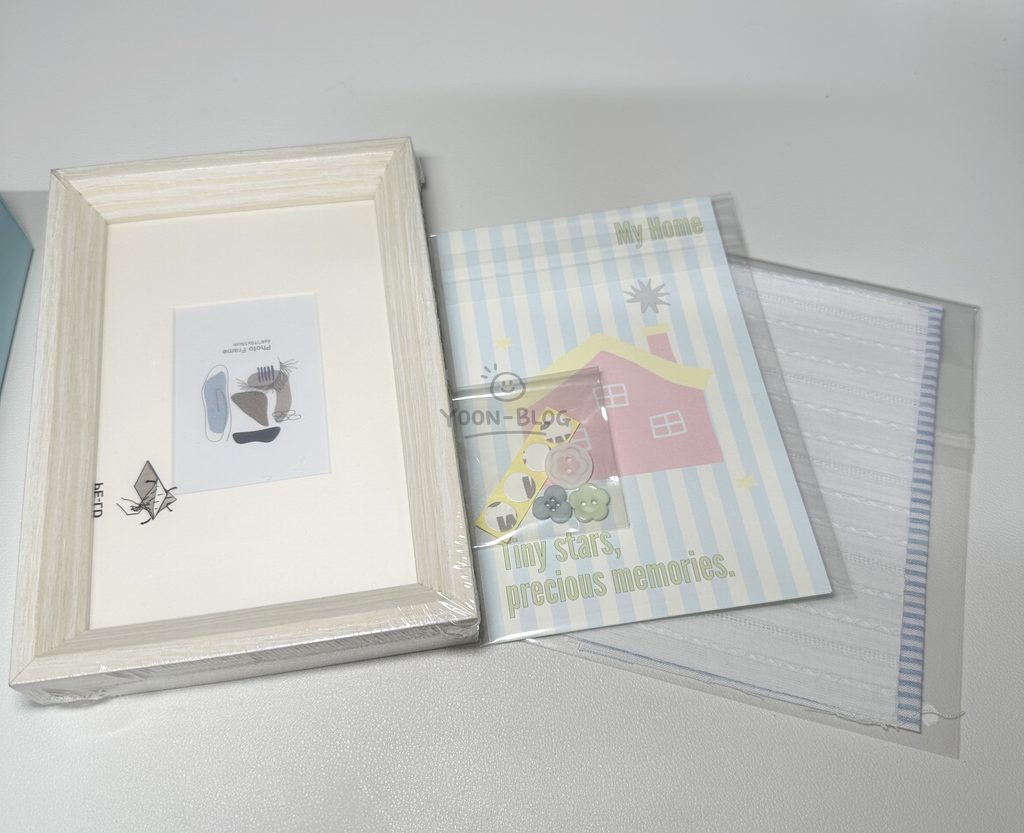
Mine came with a relatively bright design.
I’m planning to properly use the decorating kit later
when I start working on my journal.
Not Just for Journaling!
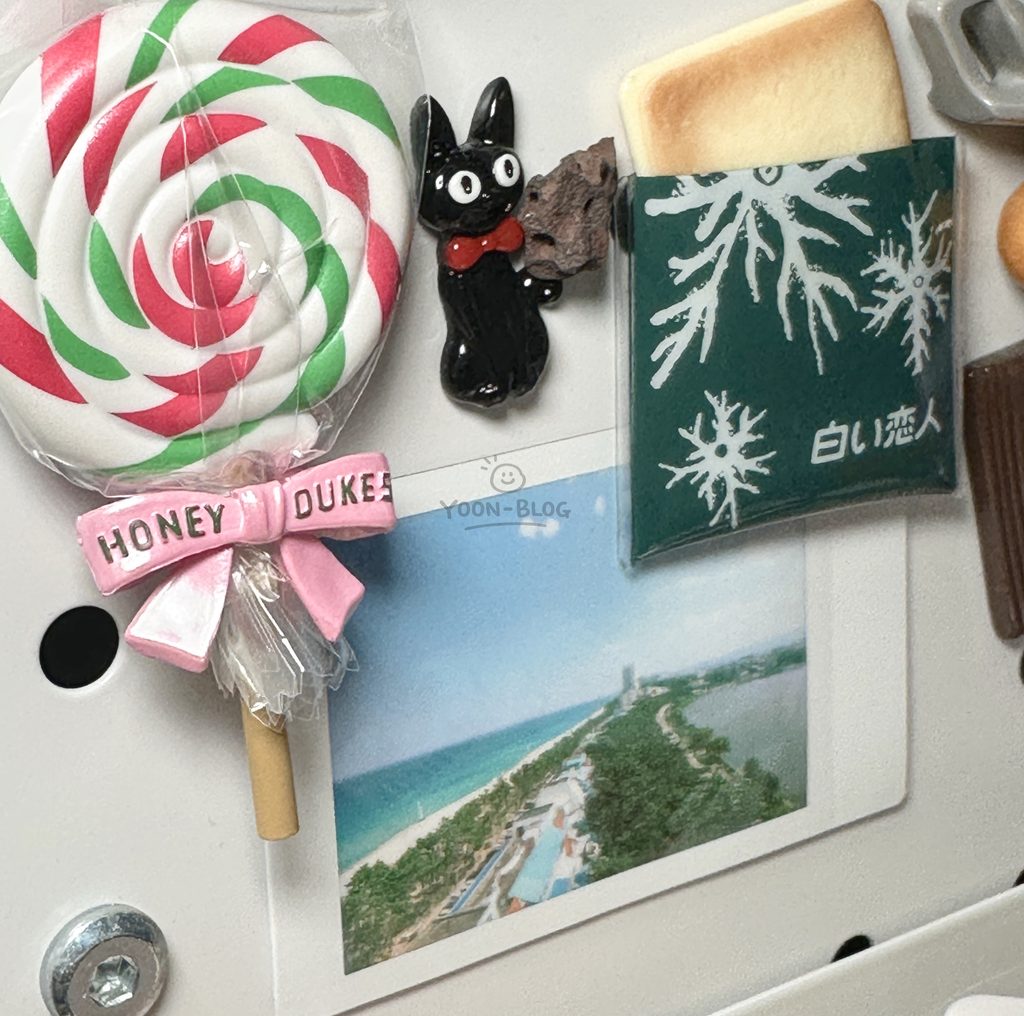
Journaling was the main reason I bought the Mini Link+, but after actually printing some photos,
I realized there are quite a few other ways to use it.
You could print your favorite travel or everyday photos
and keep them in an album.
Or you could put them on a wall or around
your desk as simple room decorations.
There’s definitely a different feeling between looking at a photo stored on your phone or computer and actually holding a physical print in your hands.
Especially if you take a lot of photos with a camera,
I think one of the biggest advantages of
the Mini Link series is being able to choose
your favorites and print them immediately.
My Instax Mini Link+ Review
After using it myself,
I’m very satisfied with the Instax Mini Link+.
Connecting it to a smartphone isn’t difficult,
and once it’s set up, you can select a photo
and print it almost immediately.
Even if you’ve never used an Instax printer before,
it’s easy to get started.
If you’re someone who takes a lot of photos with a camera or smartphone but usually just leaves them sitting in your photo library, being able to turn your favorite shots into actual film prints is a bigger advantage than I expected.
However, if you’re deciding between the Mini Link 3
and Mini Link+, I’d recommend thinking about
how often you’ll actually use the Design Print feature.
If you’re mainly going to print photos,
there isn’t a major difference in their standard
photo printing specifications.
In that case, I think it’s perfectly fine to choose based on price or which printer design you prefer.
On the other hand, if you’re planning to frequently print detailed images containing text, illustrations, or your own custom designs, the Link+ and its Design Print feature may be the better choice.
I’m planning to gradually print more of the travel photos
I take with my camera, and of course,
I’ll also be using it for the journaling projects
that made me buy it in the first place.
If you want to do more than just take photos
and store them digitally and actually print
and keep some of your favorite memories
I think the Instax Mini Link+ is definitely worth considering.
“이 포스팅은 쿠팡 파트너스 활동의 일환으로, 이에 따른 일정액의 수수료를 제공받습니다.”


You May Also Like
Fujifilm X-T30III Review | Accessory Recommendations
Belkin AirTag Case Review | Secure Holder Key Ring for Car Keys